Confluence page trees help you organise your content, but they can also get messy. Here's how to use them - and a solution to complicated page navigation.
Are you struggling with a cluttered Confluence space, endlessly searching to find the page you need to use? Do you wish you could navigate seamlessly between related pages?
Here we’ll go into how Confluence page trees work, how to use and organise them - and a better way to organise and find your Confluence pages.
For another way to help users navigate your content, read our guide on
linking pages in Confluence.
What is a Confluence page tree?
A Confluence page tree is a hierarchy of all the pages and other content that live within a Confluence space. It shows the relationship between pages, such as whether there are parent and child pages. You can view a Confluence space's page tree in the left sidebar, or by using a Confluence page tree macro.
Confluence's page tree is also known as a "content tree" because it's not just pages that live in it. Read on to find out more.
What lives in a Confluence page tree?
Your page tree contains all published and draft content (that you have access to view) in a chosen Confluence space. This includes:
How do I order a page tree in Confluence?
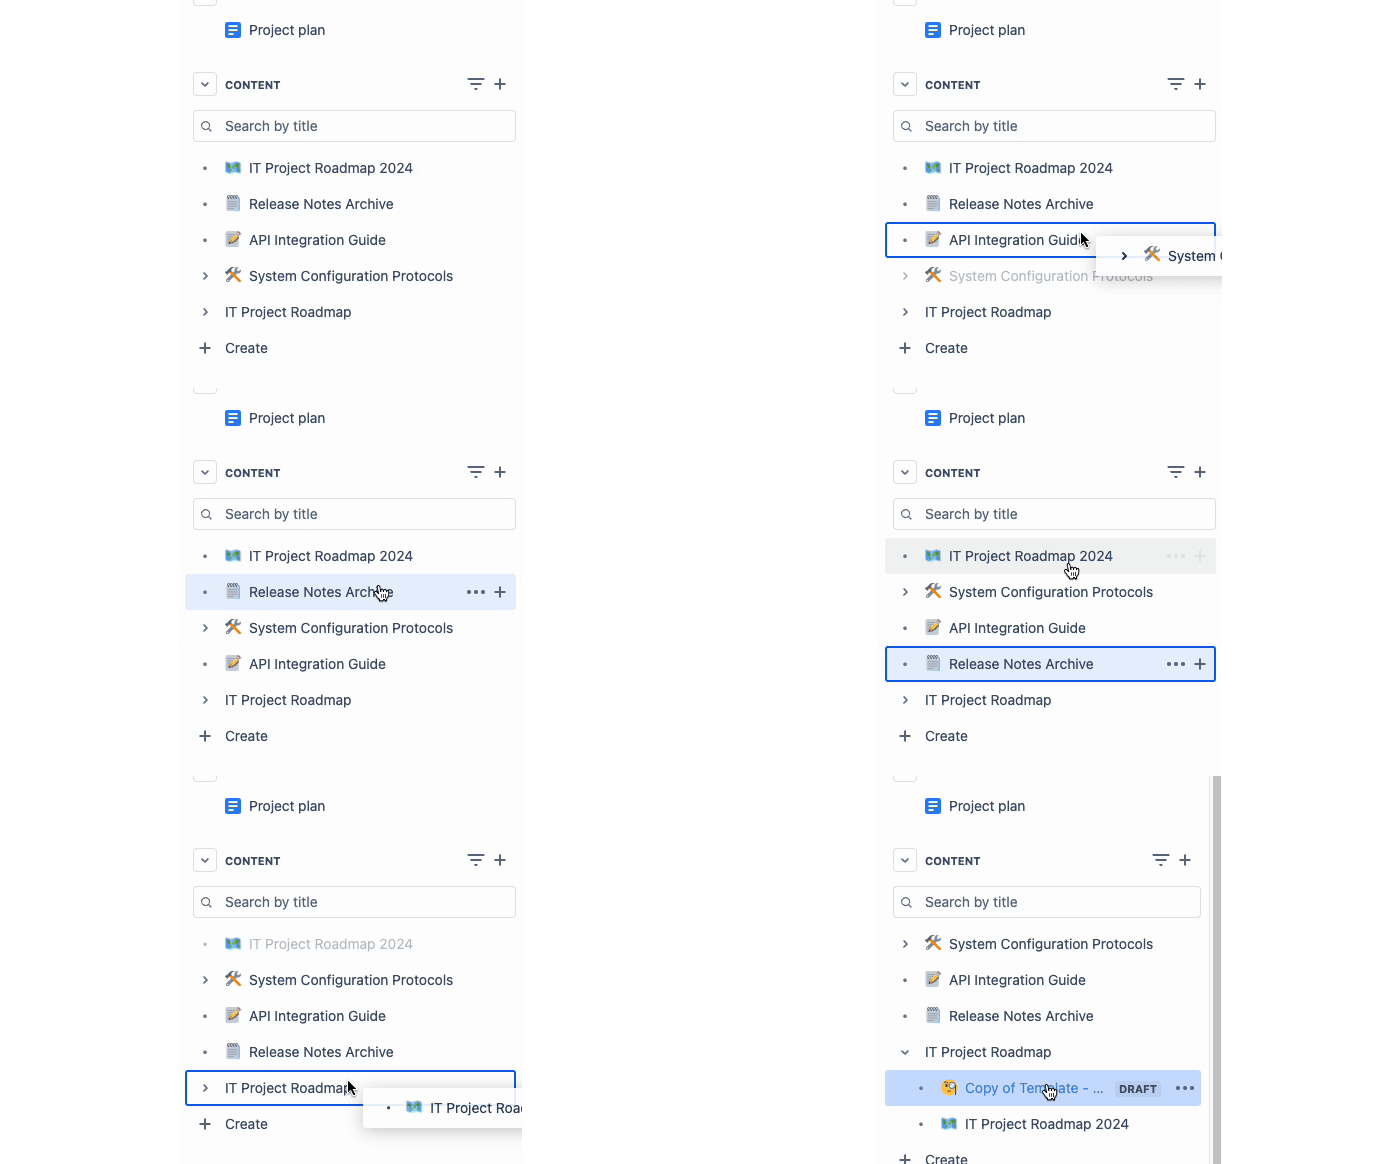
Reordering your Confluence page tree is super simple - just click on the name of your page in the sidebar, and drag it to where on the page tree you’d like it to go. Your changes will automatically be saved.
If you want to make a page a child page, drag your page directly on top of the name of another page. This will nest it under that page. That’s it!
Drawbacks of Confluence page trees
While Confluence page trees make it easier to find the page you want, they’re not always the most user-friendly:
- Time-consuming to navigate - there’s no quick way to sort through the pages in your page tree.
- Unclear relationships between pages - child pages that are related, for example, aren’t shown to have any relationship.
- Potential for errors - with more complex page trees being hard to navigate, there’s the chance that page content may be accidentally duplicated.
Other ways to organise Confluence pages
Because Confluence's pages are organised as a simple hierarchy, there are limits to how easily you can find what you're looking for. For example, all child trees to a parent page are shown underneath it, with no further organisation.
With folders and labels, you can help categorise your content, making it easier to find what you're looking for.
- Folders still live in Confluence's page tree, but they neatly house all content related to a particular topic, keeping them out of view unless a user expands one.
- Labels improve searchability and link key pages together. At the click of a button, you can find pages on a related topic or theme.
Folders can help you organise your page tree
Top tip: If you can't see your page tree, your sidebar is likely hidden. Use the
keyboard shortcut Ctrl +
[ to make it
reappear instantly.
Your Confluence pages, but better
Give your Confluence pages the love they deserve. Discover Mosaic today and start building pages that users care about.


