Some say that simple is best, and that’s certainly the case with Confluence checkboxes. Here’s how to add them to your pages, plus a few use cases for inspiration.
Managing tasks and projects isn’t always the most engaging thing in the world, and it can be difficult to know where exactly you stand when it comes to what other team members have been up to. Checkboxes are a simple but effective way to make tracking your and your team’s progress easier in a clear, visual way.
Want more top tips for handling projects? Check out our tips on
using Confluence for project management.
How to add checkboxes to a Confluence page
💡Tip: In Confluence Cloud, checkboxes are referred to as action items.
1. Create a new Confluence page or click to edit an existing page (using the pencil icon).
2. Start typing the keyboard shortcut /action item. Select the Action item macro.
3. Type to add text to your first checkbox. Then press Enter to create a new checkbox below your existing one.
Why add checkboxes to your Confluence pages?
Checkboxes lay out what needs to be done clearly and neatly, and they’re easy to find on the page, meaning users can effectively find the tasks assigned to them and others.
And because checkboxes are simple to interact with, users can quickly show that they’ve completed a task. No more chasing up to find out if something has been done!
They’re a versatile tool, enabling you to create to-do lists, track quality assurance tasks, manage inventory, and more. Below are just a few of the ways you can use checkboxes to add ease to your workflow.
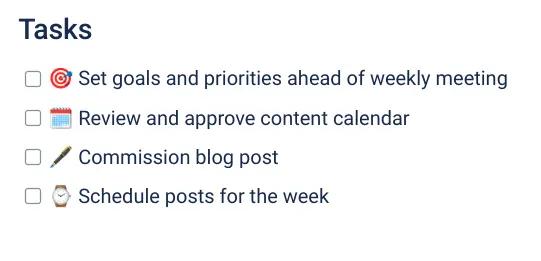
Task lists
Checkboxes help you cross off your completed tasks in a satisfying way
Keep your agenda on schedule and ensure the team has actionable next steps
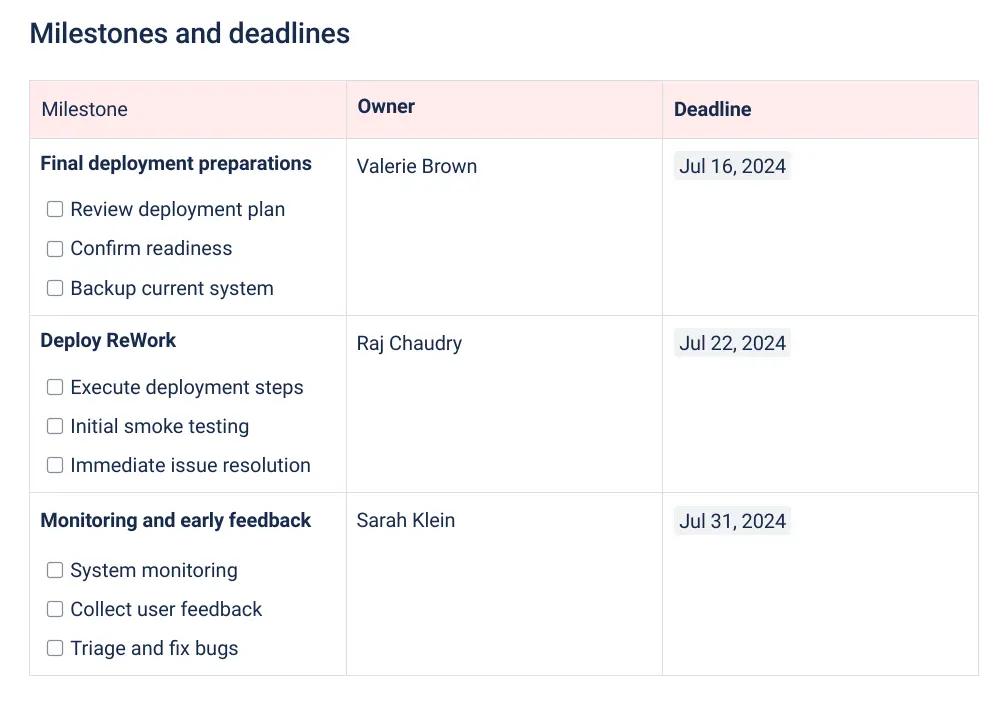
Track milestones and task allocation across your project team
An easier way to keep your team on track
With Mosaic for Confluence’s To-Do List Template, you can keep everyone accountable and aware of their progress.